
标签: 客户端, API, WEB APP
在这篇博文中,我们将演示如何使用 gradio_client Python 库,它使开发人员能够通过创建示例 FastAPI Web 应用程序以编程方式向 Gradio 应用程序发出请求。 我们将构建的 Web 应用程序称为“Acapellify”,它将允许用户上传视频文件作为输入并返回该视频的无器乐版本。 它还将显示生成的视频库。
In this blog post, we will demonstrate how to use the gradio_client Python library, which enables developers to make requests to a Gradio app programmatically, by creating an example FastAPI web app. The web app we will be building is called "Acapellify," and it will allow users to upload video files as input and return a version of that video without instrumental music. It will also display a gallery of generated videos.
先决条件
Prerequisites
在开始之前,请确保你运行的是 Python 3.9 或更高版本,并安装了以下库:
Before we begin, make sure you are running Python 3.9 or later, and have the following libraries installed:
gradio_clientfastapiuvicorn你可以从 pip 安装这些库:
You can install these libraries from pip:
$ pip install gradio_client fastapi uvicorn
你还需要安装 ffmpeg。 你可以通过在终端中运行来检查你是否已经拥有 ffmpeg:
You will also need to have ffmpeg installed. You can check to see if you already have ffmpeg by running in your terminal:
$ ffmpeg version
否则,请按照这些说明安装 ffmpeg。
Otherwise, install ffmpeg by following these instructions.
让我们从看起来最复杂的部分开始——使用机器学习从视频中删除音乐。
Let's start with what seems like the most complex bit -- using machine learning to remove the music from a video.
对我们来说幸运的是,我们可以使用现有的空间来简化此过程:https: //huggingface.co/spaces/abidlabs/music-separation 。 This Space 获取一个音频文件并生成两个单独的音频文件:一个包含器乐,一个包含原始剪辑中的所有其他声音。 非常适合与我们的客户一起使用!
Luckily for us, there's an existing Space we can use to make this process easier: https://huggingface.co/spaces/abidlabs/music-separation. This Space takes an audio file and produces two separate audio files: one with the instrumental music and one with all other sounds in the original clip. Perfect to use with our client!
打开一个新的 Python 文件,比如 main.py ,然后从 gradio_client 导入 Client 类并将其连接到这个空间:
Open a new Python file, say main.py, and start by importing the Client class from gradio_client and connecting it to this Space:
from gradio_client import Client

client = Client("abidlabs/music-separation")

def acapellify(audio_path):
    result = client.predict(audio_path, api_name="/predict")
    return result[0]
这就是所有需要的代码——请注意,API 端点返回列表中的两个音频文件(一个没有音乐,一个只有音乐),因此我们只返回列表的第一个元素。
That's all the code that's needed -- notice that the API endpoints returns two audio files (one without the music, and one with just the music) in a list, and so we just return the first element of the list.
注意:由于这是一个公共空间,可能还有其他用户也在使用这个空间,这可能会导致体验缓慢。 你可以使用自己的拥抱面令牌复制此空间,并创建一个只有你有权访问和绕过队列的私人空间。 为此,只需将上面的前两行替换为:
Note: since this is a public Space, there might be other users using this Space as well, which might result in a slow experience. You can duplicate this Space with your own Hugging Face token and create a private Space that only you have will have access to and bypass the queue. To do that, simply replace the first two lines above with:
from gradio_client import Client

client = Client.duplicate("abidlabs/music-separation", hf_token=YOUR_HF_TOKEN)
其他一切都保持不变!
Everything else remains the same!
现在,当然,我们正在处理视频文件,所以我们首先需要从视频文件中提取音频。 为此,我们将使用 ffmpeg 库,它在处理音频和视频文件时会做很多繁重的工作。 使用 ffmpeg 最常见的方式是通过命令行,我们将通过 Python 的 subprocess 模块调用它:
Now, of course, we are working with video files, so we first need to extract the audio from the video files. For this, we will be using the ffmpeg library, which does a lot of heavy lifting when it comes to working with audio and video files. The most common way to use ffmpeg is through the command line, which we'll call via Python's subprocess module:
我们的视频处理工作流程将包括三个步骤:
Our video processing workflow will consist of three steps:
首先,我们首先获取视频文件路径并使用 ffmpeg 提取音频。
First, we start by taking in a video filepath and extracting the audio using ffmpeg.
然后,我们通过上面的 acapellify() 函数传入音频文件。
Then, we pass in the audio file through the acapellify() function above.
最后,我们将新音频与原始视频结合起来制作最终的无字幕视频。
Finally, we combine the new audio with the original video to produce a final acapellified video.
这是 Python 中的完整代码,你可以将其添加到 main.py 文件中:
Here's the complete code in Python, which you can add to your main.py file:
import subprocess

def process_video(video_path):
    old_audio = os.path.basename(video_path).split(".")[0] + ".m4a"
    subprocess.run(['ffmpeg', '-y', '-i', video_path, '-vn', '-acodec', 'copy', old_audio])

    new_audio = acapellify(old_audio)

    new_video = f"acap_{video_path}"
    subprocess.call(['ffmpeg', '-y', '-i', video_path, '-i', new_audio, '-map', '0:v', '-map', '1:a', '-c:v', 'copy', '-c:a', 'aac', '-strict', 'experimental', f"static/{new_video}"])
    return new_video
如果你想了解所有命令行参数,你可以阅读ffmpeg 文档,因为它们超出了本教程的范围。
You can read up on ffmpeg documentation if you'd like to understand all of the command line parameters, as they are beyond the scope of this tutorial.
接下来,我们将创建一个简单的 FastAPI 应用程序。 如果你以前没有使用过 FastAPI,请查看很棒的 FastAPI 文档。 否则,我们添加到 main.py 中的这个基本模板看起来会很眼熟:
Next up, we'll create a simple FastAPI app. If you haven't used FastAPI before, check out the great FastAPI docs. Otherwise, this basic template, which we add to main.py, will look pretty familiar:
import os
from fastapi import FastAPI, File, UploadFile, Request
from fastapi.responses import HTMLResponse, RedirectResponse
from fastapi.staticfiles import StaticFiles
from fastapi.templating import Jinja2Templates

app = FastAPI()
os.makedirs("static", exist_ok=True)
app.mount("/static", StaticFiles(directory="static"), name="static")
templates = Jinja2Templates(directory="templates")

videos = []

@app.get("/", response_class=HTMLResponse)
async def home(request: Request):
    return templates.TemplateResponse(
        "home.html", {"request": request, "videos": videos})

@app.post("/uploadvideo/")
async def upload_video(video: UploadFile = File(...)):
    new_video = process_video(video.filename)
    videos.append(new_video)
    return RedirectResponse(url='/', status_code=303)
在此示例中,FastAPI 应用程序有两条路线: / 和 /uploadvideo/ 。
In this example, the FastAPI app has two routes: / and /uploadvideo/.
/ 路由返回一个 HTML 模板,该模板显示所有上传视频的图库。
The / route returns an HTML template that displays a gallery of all uploaded videos.
/uploadvideo/ 路由接受带有 UploadFile 对象的 POST 请求,该对象代表上传的视频文件。 视频文件通过 process_video() 方法“acapellified”,输出视频存储在一个列表中,该列表将所有上传的视频存储在内存中。
The /uploadvideo/ route accepts a POST request with an UploadFile object, which represents the uploaded video file. The video file is "acapellified" via the process_video() method, and the output video is stored in a list which stores all of the uploaded videos in memory.
请注意,这是一个非常基本的示例,如果这是一个生产应用程序,你将需要添加更多逻辑来处理文件存储、用户身份验证和安全注意事项。
Note that this is a very basic example and if this were a production app, you will need to add more logic to handle file storage, user authentication, and security considerations.
最后,我们创建 Web 应用程序的前端。 首先,我们在与 main.py 相同的目录中创建一个名为 templates 的文件夹。 然后我们在 templates 文件夹中创建一个模板 home.html 。 这是生成的文件结构:
Finally, we create the frontend of our web application. First, we create a folder called templates in the same directory as main.py. We then create a template, home.html inside the templates folder. Here is the resulting file structure:
├── main.py
├── templates
│   └── home.html
将以下内容写入 home.html 的内容:
Write the following as the contents of home.html:
<!DOCTYPE html>
<html>
  <head>
    <title>Video Gallery</title>
    <style>
      body {
        font-family: sans-serif;
        margin: 0;
        padding: 0;
        background-color: #f5f5f5;
      }
      h1 {
        text-align: center;
        margin-top: 30px;
        margin-bottom: 20px;
      }
      .gallery {
        display: flex;
        flex-wrap: wrap;
        justify-content: center;
        gap: 20px;
        padding: 20px;
      }
      .video {
        border: 2px solid #ccc;
        box-shadow: 0px 0px 10px rgba(0, 0, 0, 0.2);
        border-radius: 5px;
        overflow: hidden;
        width: 300px;
        margin-bottom: 20px;
      }
      .video video {
        width: 100%;
        height: 200px;
      }
      .video p {
        text-align: center;
        margin: 10px 0;
      }
      form {
        margin-top: 20px;
        text-align: center;
      }
      input[type="file"] {
        display: none;
      }
      .upload-btn {
        display: inline-block;
        background-color: #3498db;
        color: #fff;
        padding: 10px 20px;
        font-size: 16px;
        border: none;
        border-radius: 5px;
        cursor: pointer;
      }
      .upload-btn:hover {
        background-color: #2980b9;
      }
      .file-name {
        margin-left: 10px;
      }
    </style>
  </head>
  <body>
    <h1>Video Gallery</h1>

      <p>No videos uploaded yet.</p>

    <form action="/uploadvideo/" method="post" enctype="multipart/form-data">
      <label for="video-upload" class="upload-btn">Choose video file</label>
      <input type="file" name="video" id="video-upload">
      <span class="file-name"></span>
      <button type="submit" class="upload-btn">Upload</button>
    </form>
    <script>
      // Display selected file name in the form
      const fileUpload = document.getElementById("video-upload");
      const fileName = document.querySelector(".file-name");

      fileUpload.addEventListener("change", (e) => {
        fileName.textContent = e.target.files[0].name;
      });
    </script>
  </body>
</html>
最后,我们准备运行由 Gradio Python 客户端提供支持的 FastAPI 应用程序!
Finally, we are ready to run our FastAPI app, powered by the Gradio Python Client!
打开终端并导航到包含 main.py 目录。 然后在终端中运行以下命令:
Open up a terminal and navigate to the directory containing main.py. Then run the following command in the terminal:
$ uvicorn main:app
你应该看到如下所示的输出:
You should see an output that looks like this:
Loaded as API: https://abidlabs-music-separation.hf.space ✔
INFO:     Started server process [1360]
INFO:     Waiting for application startup.
INFO:     Application startup complete.
INFO:     Uvicorn running on http://127.0.0.1:8000 (Press CTRL+C to quit)
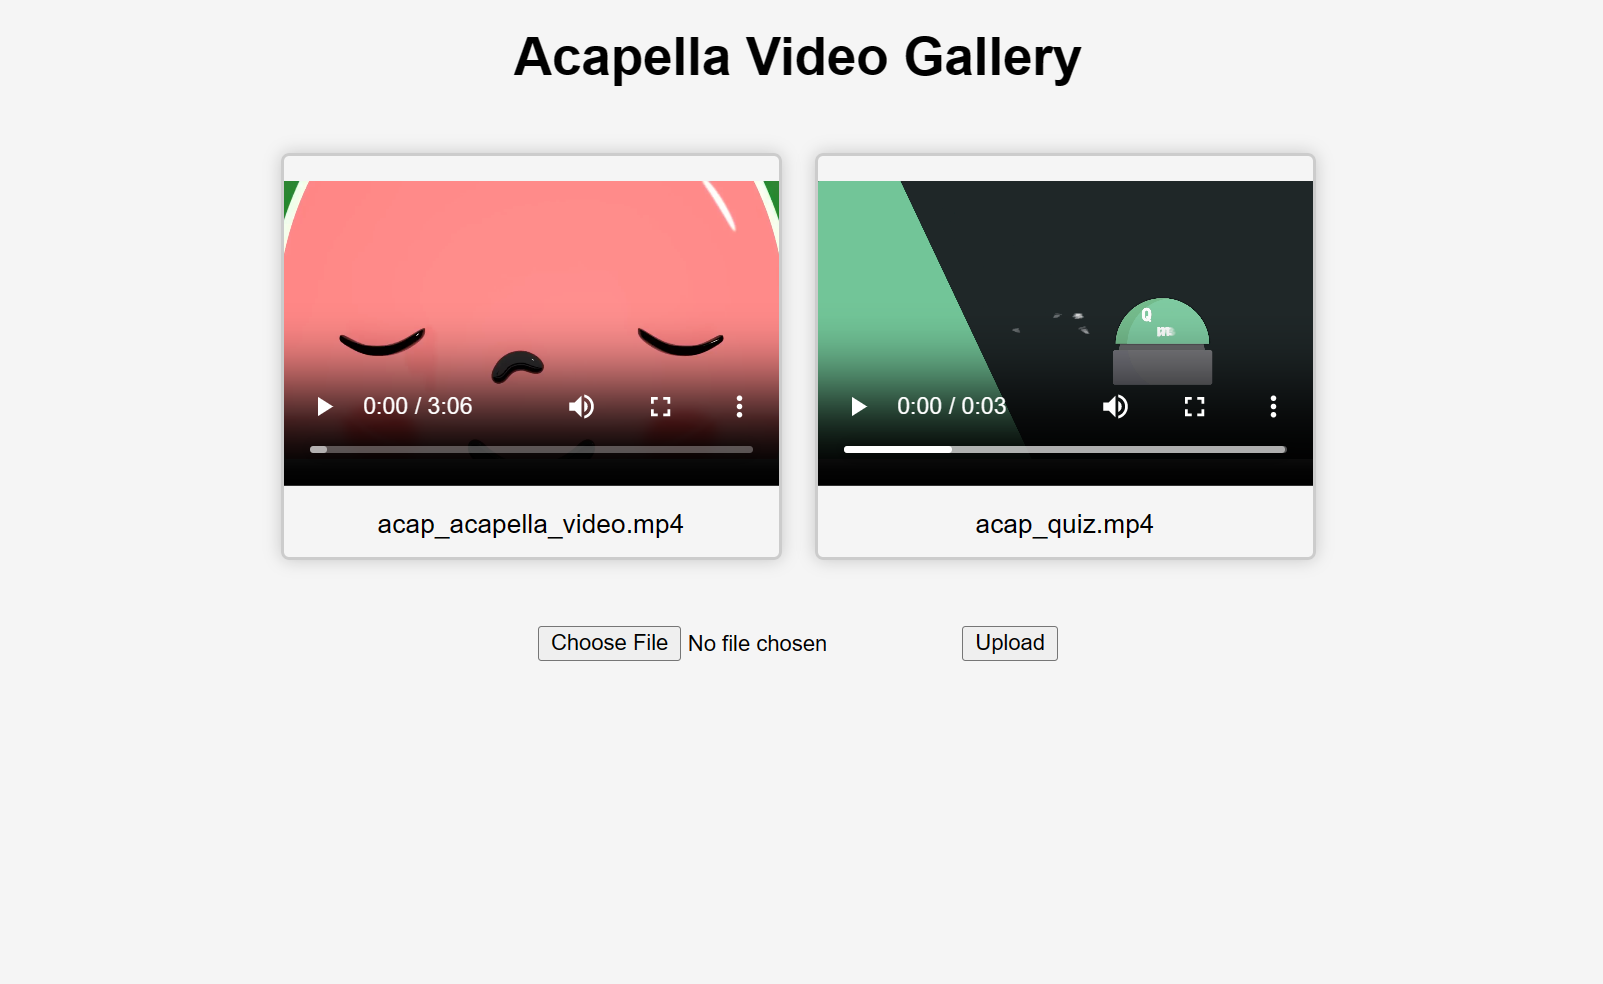
就是这样! 开始上传视频,你会得到一些“acapellified”视频作为回应(可能需要几秒钟到几分钟的时间来处理,具体取决于你的视频长度)。 以下是上传两个视频后用户界面的样子:
And that's it! Start uploading videos and you'll get some "acapellified" videos in response (might take seconds to minutes to process depending on the length of your videos). Here's how the UI looks after uploading two videos:
如果你想了解更多有关如何在项目中使用 Gradio Python Client 的信息,请阅读专门的指南。
If you'd like to learn more about how to use the Gradio Python Client in your projects, read the dedicated Guide.